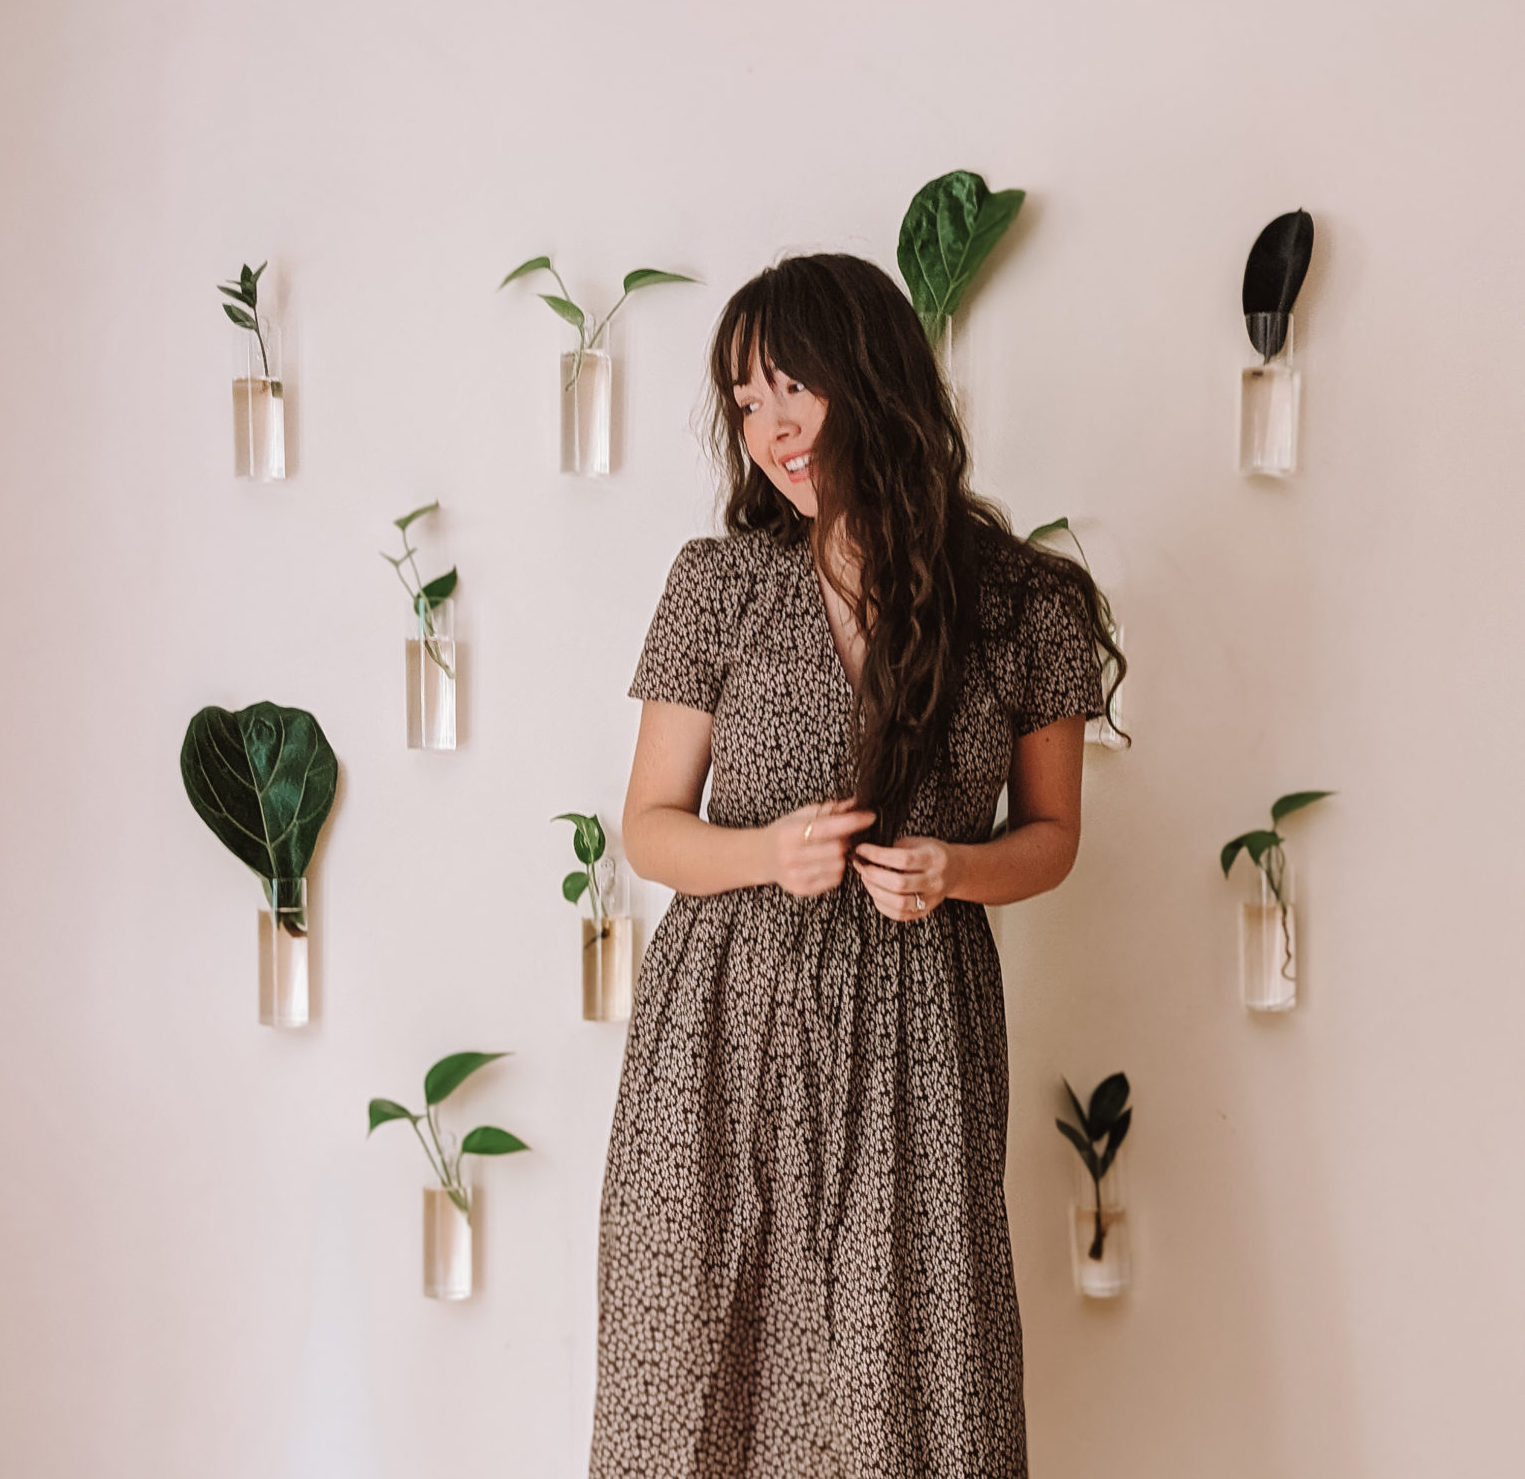
I’m SO excited to finally be sharing my propagation wall DIY tips! Plant-mothering is such a fun hobby (especially when you choose plants that are very hard to kill!).
I did a lot of research before I started this project, and I was very discouraged at first. It seemed like the only options to create a propagation wall required spending a lot of money or having experience with fancy tools (or both). I wouldn’t say my version is cheap, but it’s definitely the easiest and most budget-friendly method I found. If you have a way to make it even easier or more budget-friendly, let me know!
Step One: Finding the Perfect Bud Vases
At first, I wanted to try these test tubes, but I couldn’t find an easy method to attach them to the wall in a way that would allow me to also easily take them off the wall to replace the water and change out the stems. I found a couple of tutorials for this, but I got a headache reading the blog posts. Let’s just say that Aaron and I are by no means the next Chip and Joanna.
My biggest problem with the test tube method is that there are no holes in the test tubes. I felt like finding test tubes with a hole so I could just hang them up and take them down would be BY FAR the best way to do this.
After HOURS of searching, I finally found them!!! These are the ones I went with:
The vases have a hole at the top, and they come with these small little (ugly) plastic hooks that we just hammered into the wall. But, if you want to spend a little extra to avoid all of the holes, you could probably use strong command strip hooks instead! I’ll probably do that in our next place.
Step Two: Hanging and Spacing the Vases
Figuring out the spacing for these took a LOT of trial and error. At first I wanted them to be more of a grid (4×4) instead of mismatched, but it just kind of happened that way. We measured where we wanted the highest and lowest ones to hang and then spaced the others out evenly.
I probably would have spaced them out more if I wasn’t planning on using this as a photo backdrop, and I’m also considering adding more on both sides… TBD!
It’s really up to you depending on how many you’re planning to hang. I purchased four packs of four, which ended up being about $90. But I have two extra vases. With a different design, I could have spent only $65 and just used two less than I did.
Step Three: Cutting Your Stems
Once I hung the vases, I added filtered water and cut stems from all of the plants I have around my house. I have a ton of Pothos plants, but I included clippings from other plants for some variety too. One thing that’s important to remember is to cut your stems properly.
For example, with Pothos plants, you need to include a node. There are about 10,000 videos on this. Just search the name of the plant you are trimming and “propagation.” Easy as that!
I used this liquid rooting concentration. I struggled to find many options, so if there’s a better one out there, please let me know!
And… that’s about it so far! I will let you know if there’s anything to add, but if you can’t already tell, I am NO expert! So, this is maybe not the “best” way to do this, but it’s certainly the easiest! 🙂


Hi! I love this! I know you said you eyeballed it but about how far apart are the ones in the top row? Thank you!